 Passionfruit Kitchen
Posted on Mar 15, 2025 • 4 minutes • 681 words
Table of contents
Butter mochi is becoming more popular these days, or at least I hear about it more often on the food side of Instagram and on trendy cafe menus. I do think that when cultural dishes like this start being seen as ’trendy,’ it’s important that people stay respectful to the history of the original dish.
Butter mochi comes from Hawaii, and the tradition of a baked sticky rice dessert in Hawaii is speculated to have originated due to the influence of Japanese immigrants (and the subsequent introduction of glutinous rice flour as a staple starch), or alternatively from the Filipino baked dessert bibingka, also brought to the Hawaiian islands by Filipino immigrants. An exact origin story has yet to be agreed upon by food historians, but nevertheless, it’s a clear testament to the unique melting pot of Asian and Pacific influences in Hawaiian culture. Butter mochi seems to be pretty ubiquitous in Hawaii nowadays – I remember seeing it sold everywhere from local bakeries to gas station convenience stores when I was visiting the island of Maui.
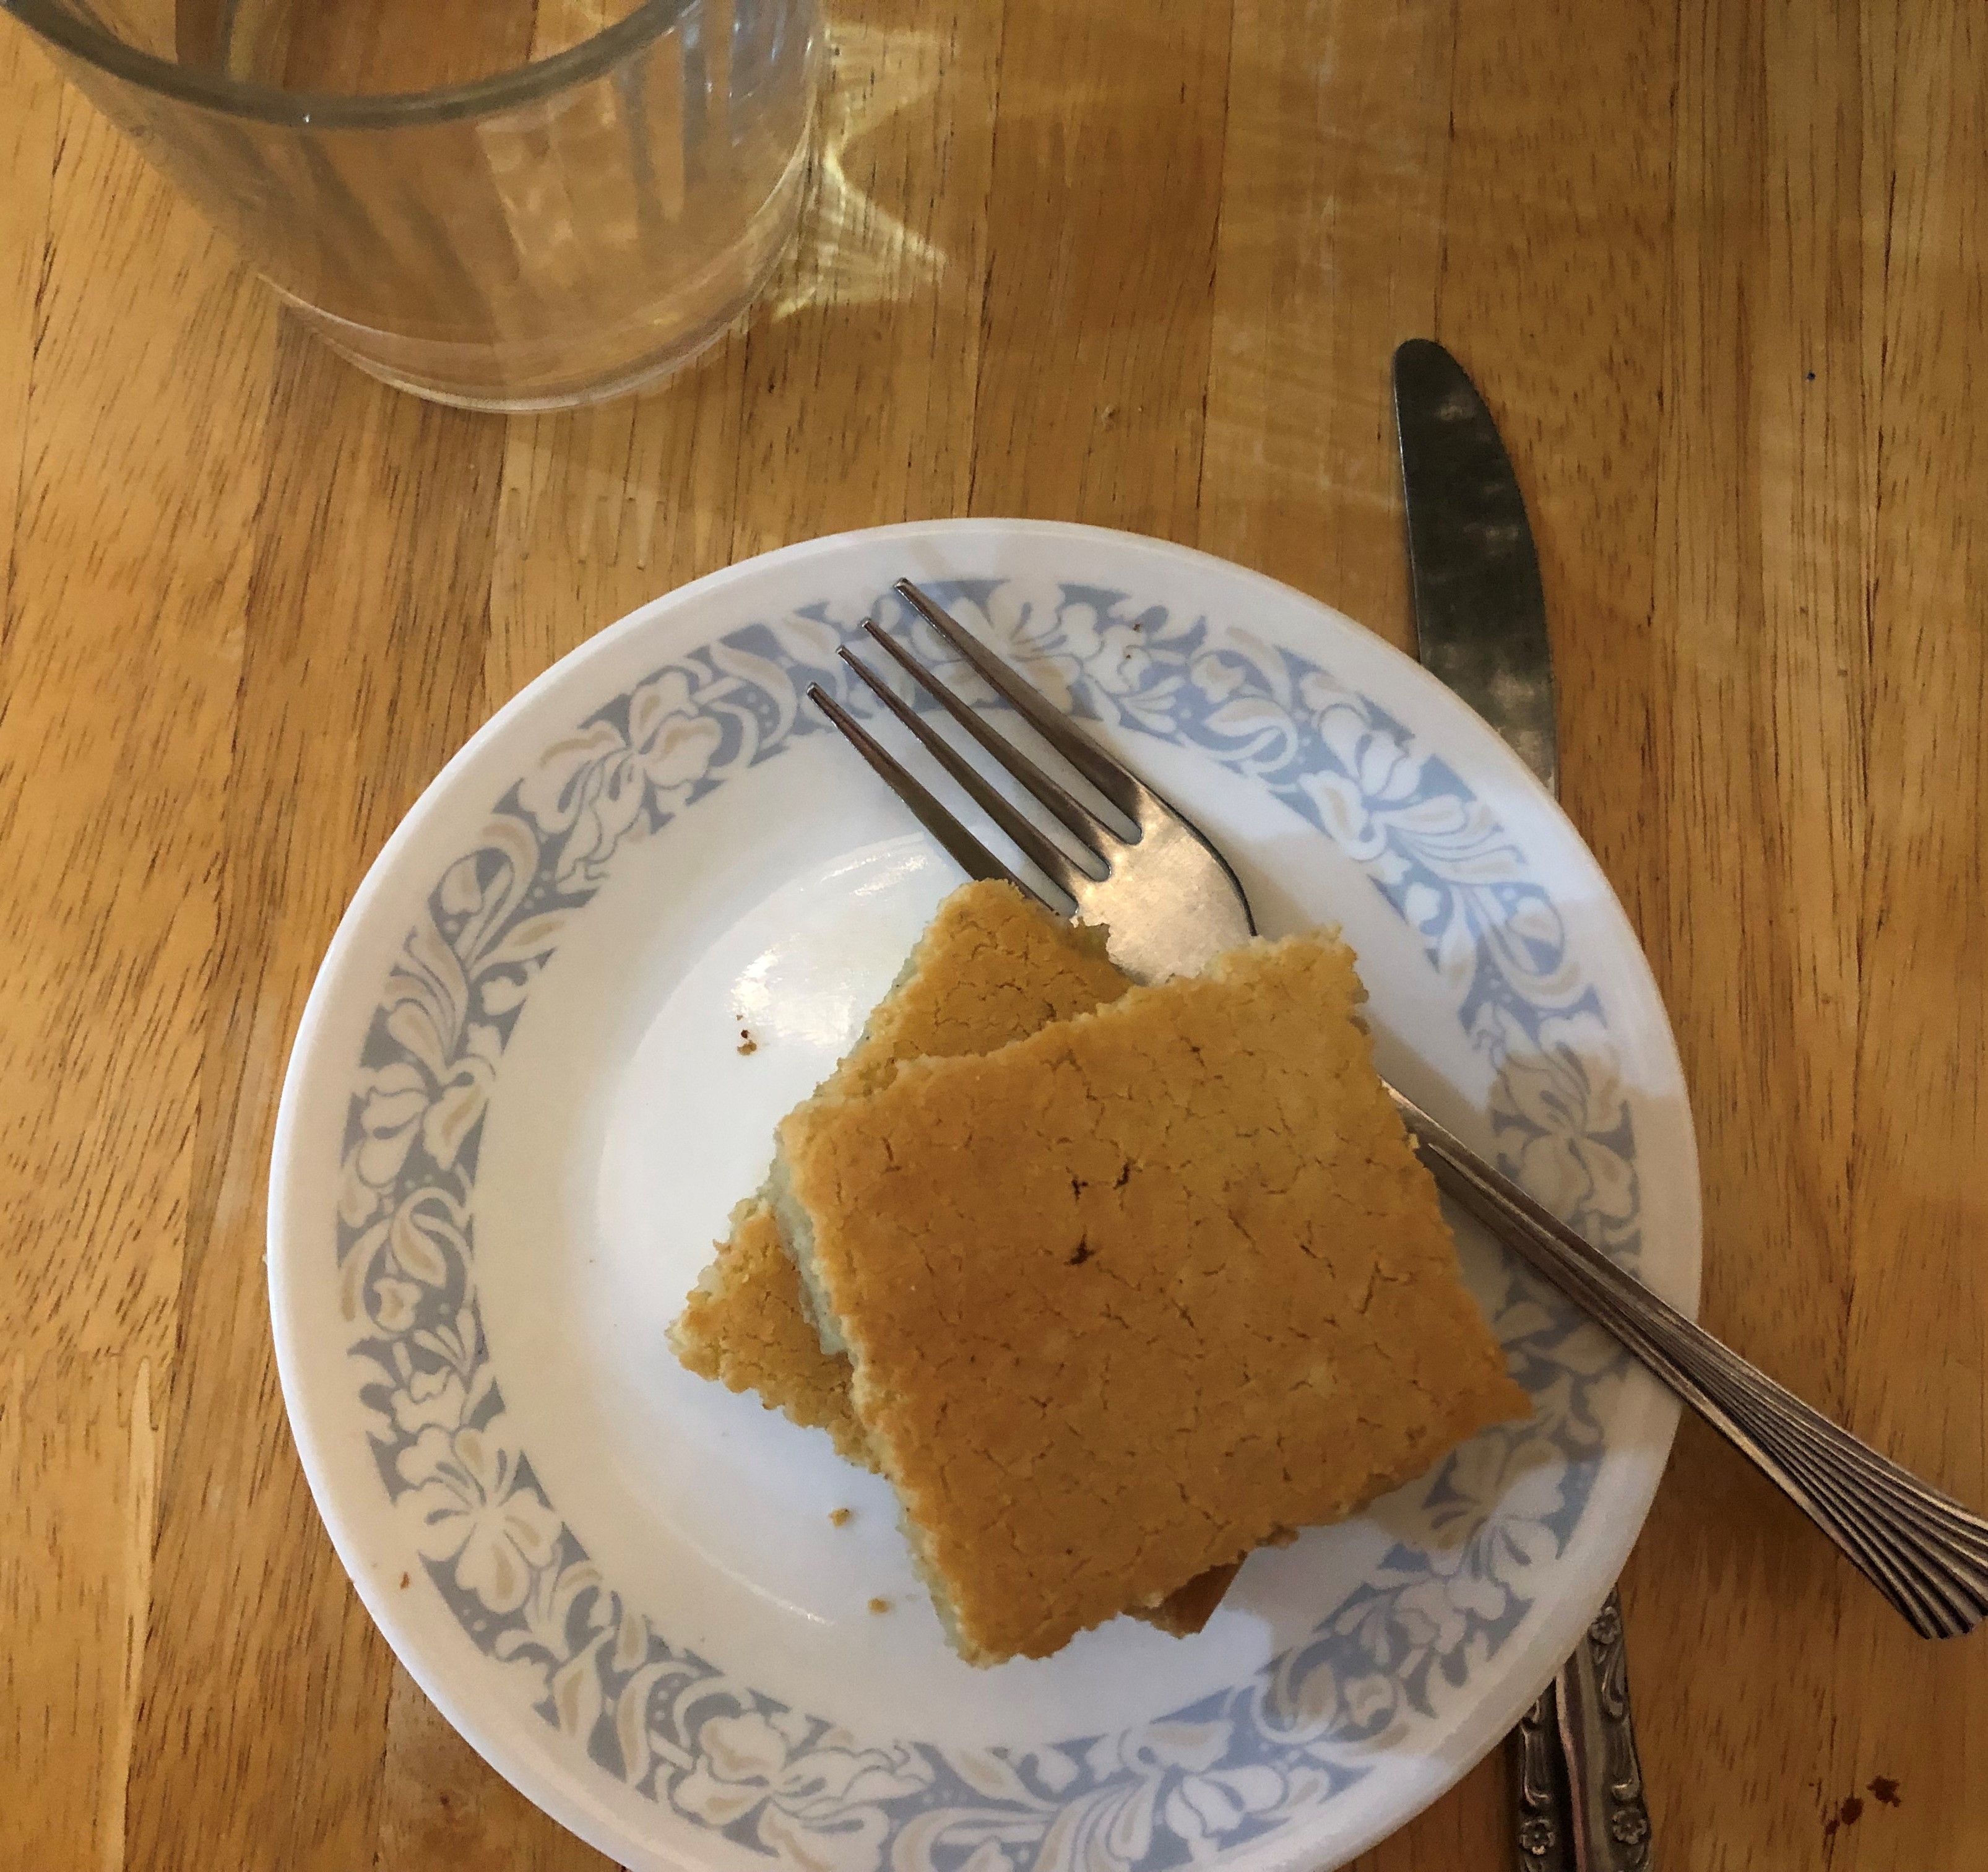
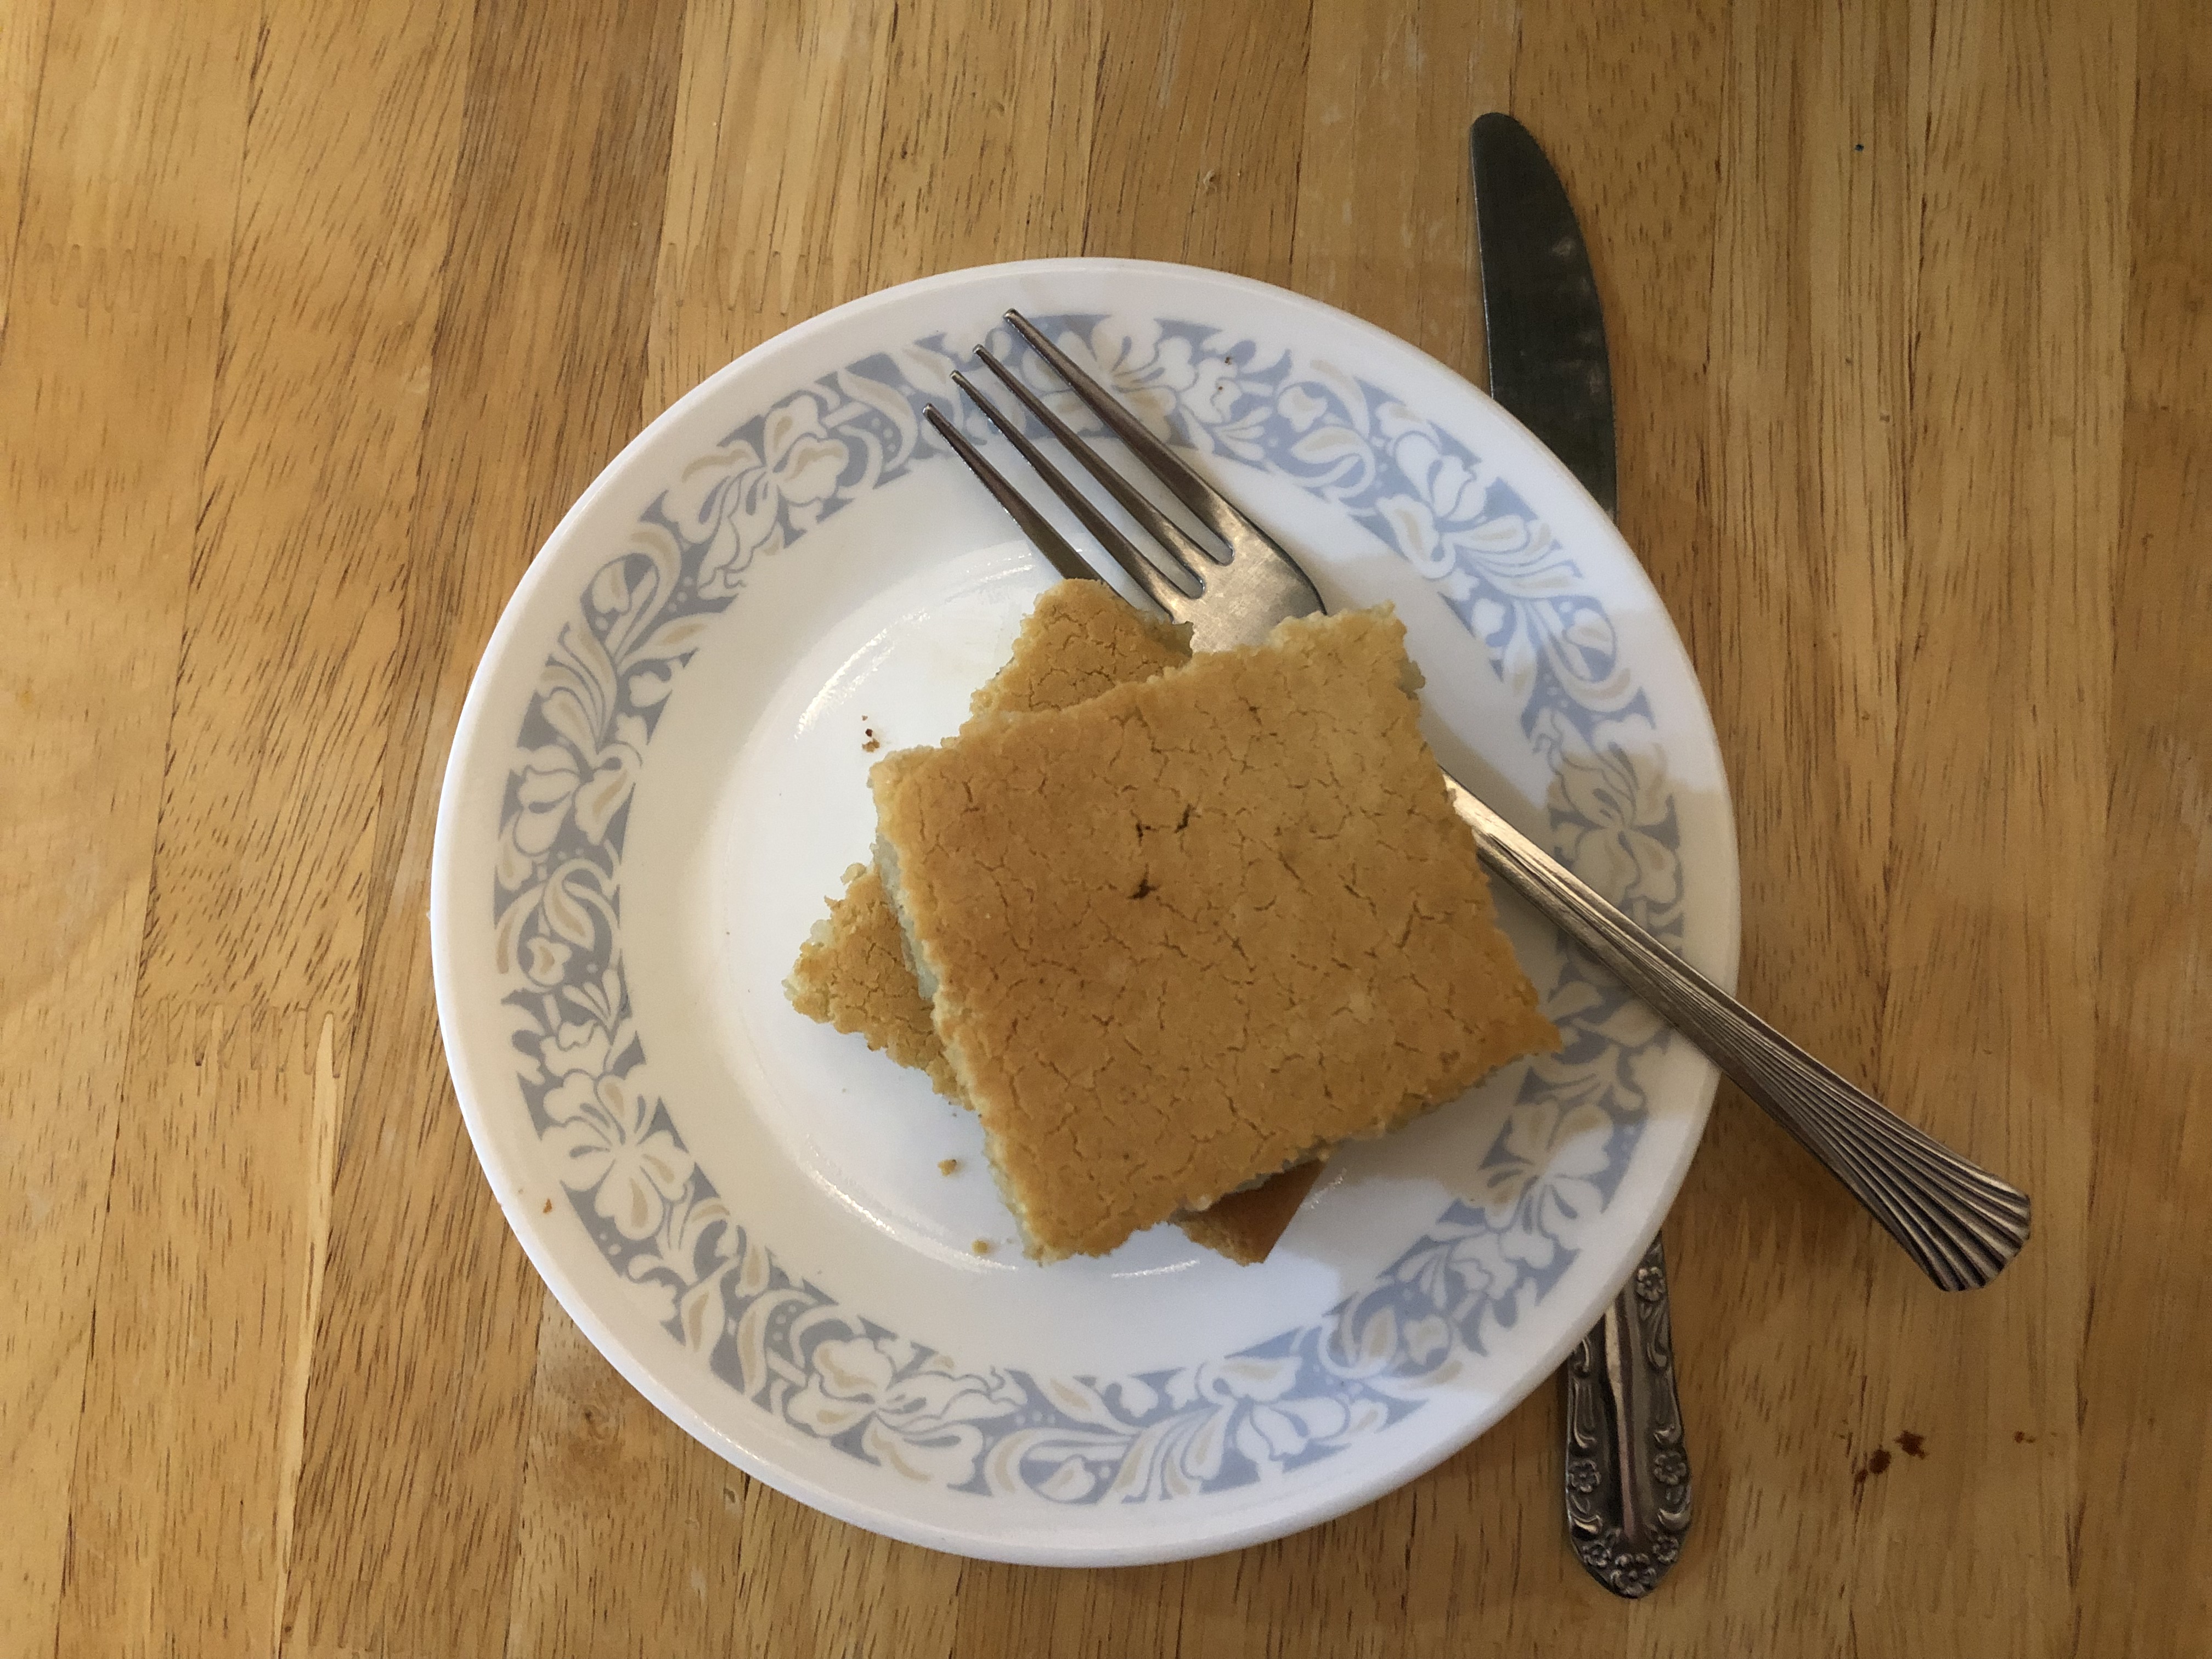
What might first come to mind when you think about mochi is probably mochi ice cream or pounded mochi. Unlike these, Hawaiian butter mochi is baked, with ingredients remiscent of a cake – eggs and butter. This contributes to a fluffier texture with crispy edges. As an experiment, I tried making butter mochi with browned butter instead of regular melted butter. Browning butter is when you melt it and keep it over the heat once it is melted, until the water boils off and the milk solids in the butter toast, giving it an amazing nutty, caramelly aroma. Brown butter gives this butter mochi an extra depth of flavor, and it’s delicious.
Ingredients
- Butter
- Eggs
- Glutinous Rice flour
- Salt
- Coconut milk
- Baking powder
- Sugar
- Vanilla extract
Tips
- Browning butter evaporates off some of the water. To get back the needed amount of liquid, a good trick is to add an ice cube to the butter once it’s browned. This will melt into the butter. You can also brown 2 more tablespoons of butter than listed.
- Be careful about the type of rice flour you use. This recipe specifically calls for Mochiko rice flour, which is a type of glutinous rice flour. It is different from joshinko or shiratomako, which are Japanese rice flours used for making dango. Mochiko is needed for the specific texture of butter mochi.
- If you do not want to brown the butter, you can just use melted butter instead.
- The bake for butter mochi is quite long, and it can be difficult to tell when it is done. I like to simply test if the center is solid. Overbaking butter mochi by a little bit won’t ruin the texture the way it might for a cheesecake, which is good.
Brown Butter Mochi
A fun twist on the chewy classic!
| Prep Time: 20 min | Cook Time: 60 min |
|---|---|
| Total Time: 80 min | Serves: 12 |
Ingredients
- 6-8 tbsp unsalted butter
- 4 large eggs
- 4 cups glutinous rice flour
- 1/2 tsp salt
- 2 cans (13.5 oz) unsweetened coconut milk
- 1 2/3 cup granulated sugar
- 2 tsp vanilla extract
Instructions |
- Preheat the oven to 350 degrees F.
- In a saucepan over medium heat, melt the butter and continue to heat, stirring constantly, until browned. If it bubbles too violently, turn down the heat. The butter is donw when it smells toasty and it has many brown flecks.
- In a large mixing bowl, whisk together eggs and sugar. Add vanilla extract, coconut milk, and butter.
- Stir in rice flour and salt. Mix until perfectly smooth. Since rice flour doesn’t have gluten, you can’t overmix! A wooden spoon or whisk is good to get out clumps.
- If it is still clumpy, strain the mixture.
- Pour into a lined 9x13 baking pan. Bake for an hour, or until set in the middle. It may take up to half an hour longer, depending on your oven.
- Let cool, slice, and enjoy! For sliceability, it helps to let it cool for a while.
Notes |
This recipe is gluten-free and vegetarian.


